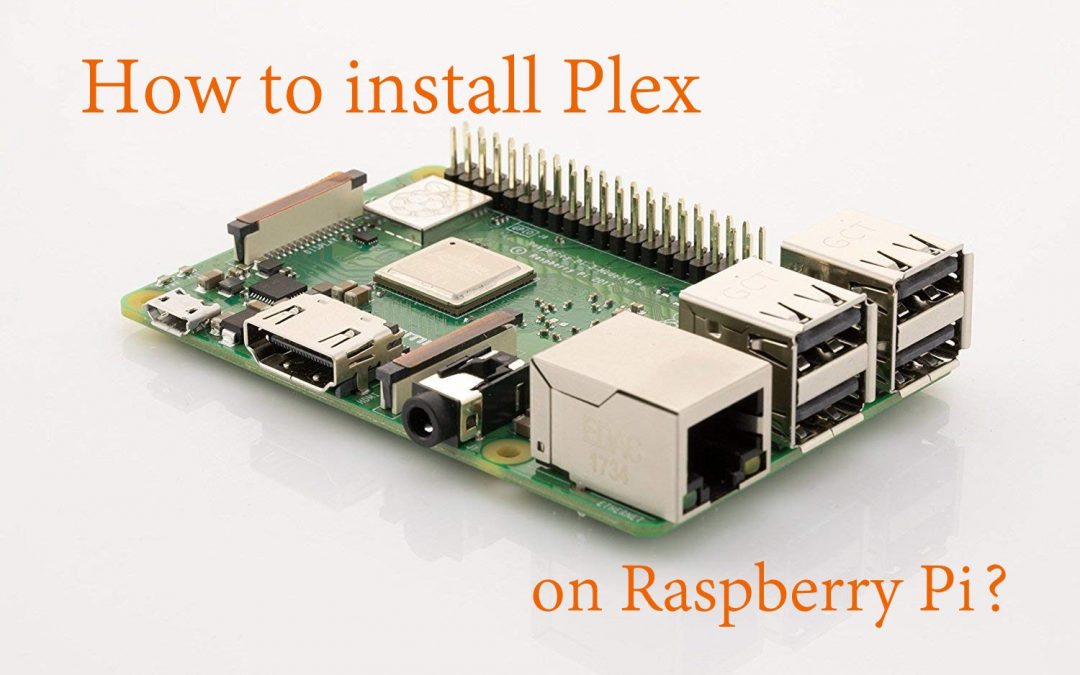
Plex is one of the best know media servers in recent times. It is based on the client-server media server that is available for different platforms including Windows PC, Mac PC, Linux PC. In addition to this, the media server can also be used on Nvidia Shield, Amazon Fire TV, Android TV, Apple TV, Chromecast, Roku, Xbox, etc. Plex media player can be accessed on Raspberry Pi models if you don’t want to deal with multiple clients. The tiny-sized computer needs no server setup as it uses a single client to access your media files. To store and access the media using Plex on Raspberry Pi, you can choose an external hard drive. Additionally, you can even use Pi as a NAS and then transfer media files without a hard drive.
Steps to Setup & Install Plex on Raspberry Pi
Take a look at the section below to know the procedure to install the Plex server on Raspberry Pi in brief.
Preliminary Requirement:
- Raspberry Pi 2/3/or newer models
- Internet or WiFi
- MicroSD card
- Latest Raspbian operating system
Related: How to install Plex on Chromebook?

Step 1: Check Raspbian is up-to-date
Enter the following command on the terminal to check if the Raspbian OS is running on the updated version.
sudo apt-get update
To upgrade, type the command as
sudo apt-get upgrade
Step 2: Add Plex Package Repository
To install Plex packages, you must have a Plex package repository installed on Raspberry Pi. Enter the command given below to install the package.
sudo apt-get install apt-transport-https
Step 3: Add dev2day Repository
Plex is available on dev2day repository and it is mandatory to add it. Enter the commands given below to add dev2day.
wget -0 – https://dev2day.de/pms/dev2day-pms.gpg.key | sudo apt-key add –
To add dev2day repository to package list, copy the command
echo “deb https://dev2day.de/pms/ jessie main: | sudo tee/etc/apt/sources.list.d/pms.list
Use the command given below to update the Package list.
sudo apt-get update
Related: How to watch Live TV on Plex?
Step 4: Download Plex Media
Use the following command to download Plex Media Server
sudo apt-get install -t jessie plexmediaserver
Just tap the ‘Y’ button when prompted to further continue with the downloading process of Plex.
Step 5: Enable Permission
Use the command given below to set Plex Media Server and run it on Raspberry Pi.
sudo nano /etc/default/plexmediaserver.prev
You will now get a text document on the terminal window. Scroll down to the line that reads PLEX_MEDIA_SERVER_USER=plex. Delete the word plex and type as ‘pi’. Now the line should be PLEX_MEDIA_SERVER_USER=pi.
Go ahead to click on Ctrl+X to exit. When prompted, type ‘Y’ for yes to save the changes. After that, click the Enter button to proceed with the same file name.
On the terminal, type the command given below
sudo service plexmediaserver restart
Related: How to install Plex on Apple TV?
Step 6: Provide Static IP Address
While setting up Raspberry Pi Plex Server, you need to have a static IP address. Only then you will be able to connect the client device with the Plex server.
hostname -I
Make a note of IP. After that, enter the command line as,
sudo nano/boot/cmdline.tct
Navigate to the bottom to type ip=enter the IP address you have already noted. Then press Ctrl+X -> type Y -> press the Enter button.
Related: How to Watch Plex on Roku?
Step 7: Restart Raspberry Pi
To restart your Raspberry Pi, you have to enter the command as
sudo reboot
Step 8: Add Files to Plex Server
Open the web browser to type in the following address on the address bar.
http:// your_IP_Address:32400/web/
Step 9: Provide Login Credentials
You will see Plex dashboard and just provide the login credentials. After that, you should click on Add Library to add your media to the Plex server.
Lastly, open the Plex on client device connected to the same network as that of the server to access any media files.
Related: How to Install Plex on Kodi?
To Sum Up
Upon following the step by step procedure, anyone can install Plex on Raspberry Pi within minutes. You can, therefore, access all your media files from the server right from the client device.
If you have any queries about this article, then share it as comments below.

